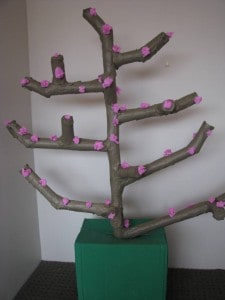
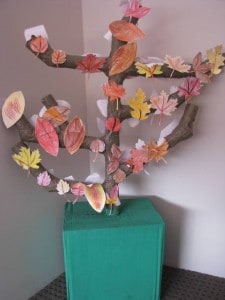
Previously I wrote about a Paper Mache Autumn Tree and my kids have been very keen to make a spring version with blossoms. Spring is a great time to observe the changes in the landscape around us. The bare winter branches on trees are starting to show signs of life. Blossoms, the beginning spring!
To celebrate the arrival of spring, why not make a Paper Mache Spring Tree with your kids. Recycle all those cardboard rolls and create something new!
What you will need?
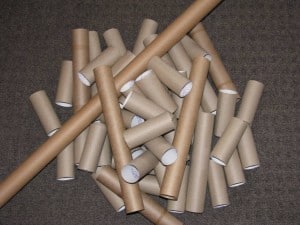
You will need a stack of cardboard paper towel and toilet rolls, scissors and masking tape. We used masking tape instead of sticky tape because it is easier for the wet gluey paper to attach to it.
Let’s Create
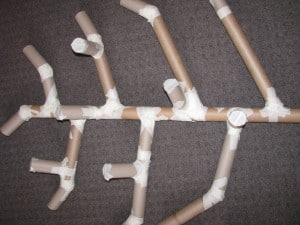
We cut holes and splits in the cardboard to connect them together to make the shape of a tree. We also used the longer cardboard rolls first and then joined the smaller ones together to create more length. We then used masking tape to hold it together more firmly.
Sensory Play
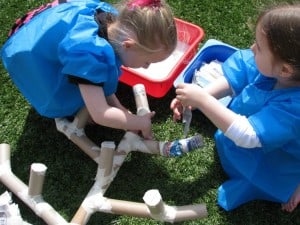
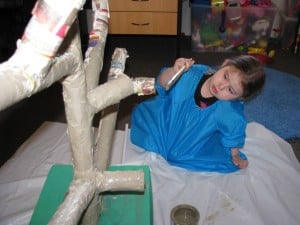
The messy fun part! Fill a large container with PVA glue mixed with water and have a pile of torn strips of newspaper ready. Dip the strips of newspaper into the gluey mixture and wrap around the cardboard tree until all is covered. This also helps strength the joins between cardboard rolls when it dries.
Let’s be Creative
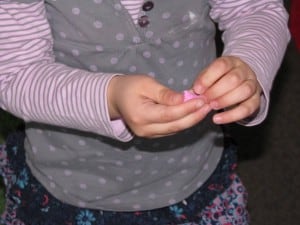
More messy fun: painting the tree and adding the blossoms. We simply just rolled and scrunched up pink crepe paper to make our blossoms.
Let’s Learn
Endless fun with your spring tree!
All this fun and now how can we use other than something to admire in the corner of the room.
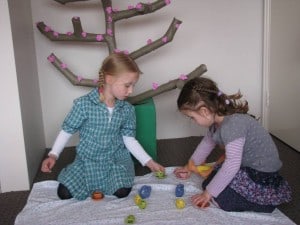
- Great imaginative play prop – use it as part of a scene or part of a story.
- An indoor picnic under the tree with a blanket and pretend play tea set.
- Decorate it with tinsel and baubles for Christmas.
Click here to view how we made our Paper Mache Autumn Tree.
