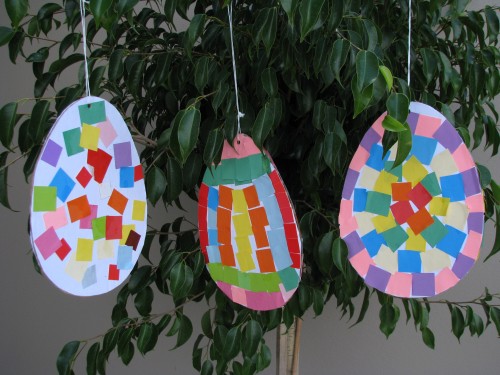
These Colourful Pattern Easter Eggs are a bright and colourful activity for the kids to do this Easter. They are super simple to make, don’t require a lot of materials and are lots of fun!
What you will need?
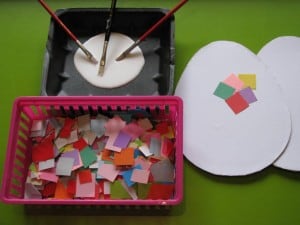
You will need coloured paper cut up into squares, an Easter egg template, cereal box, PVA craft glue and small paint brushes. You will also need string and a hole punch for hanging the Patterned Egg later. We have also used a clean meat tray for the glue; this is great for throwing away at the end to save on cleaning up.
- To make the egg shape, I glued the egg shape template onto one side of a cardboard cereal box and then cut it out. I also glued another egg shape onto the back, so both sides of the cardboard were covered with white paper. This is not necessary but we have done it to help make the patterned egg much stronger.
You can download and print the Easter egg shape from here: Printable Easter Egg Template
Let’s Create
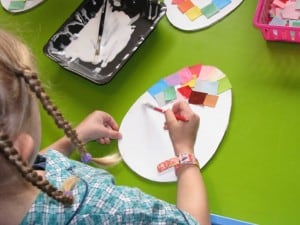
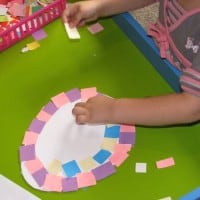
I find using small paint brushes to apply the glue helps kids control the amount of glue they are using and reduces the mess.
Let’s Play
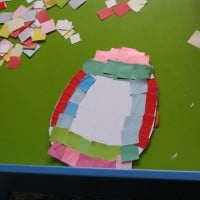
My girls had so much fun creating so many different kinds of patterns and each did something different. Both sides of their Patterned Egg were decorated with a different pattern. To give you some ideas on what you could do for patterns,
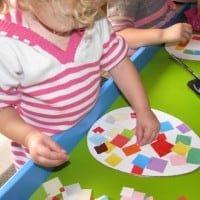
- Patches – randomly placing different coloured squares around the egg shape.
- Lines of colour – placing the same coloured squares to create lines horizontally, vertically or both.
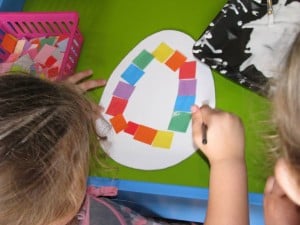
- Alternating colours – creating patterns (such as pink, purple, pink, purple) moving around the outside of the egg shape and moving inwards
- Rainbow patterns – Miss 4 loves rainbows and decided she was going to make a rainbow patterned Easter egg using only the colours in the rainbow.
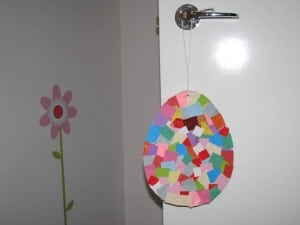
- Overlapping and covering all the spaces over the area of the egg shape
When the pattern Easter eggs were dry, we put a hole in the top, threaded some string and my girls hung it on their bedroom door handles.
