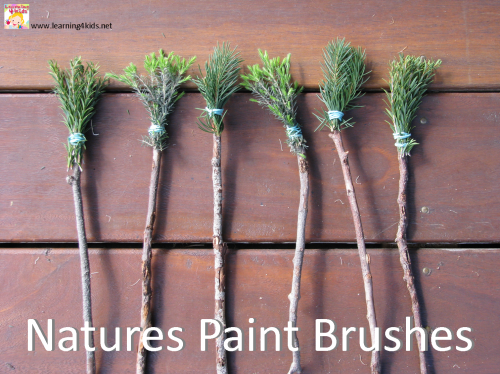
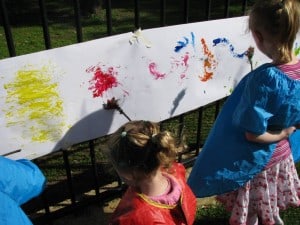
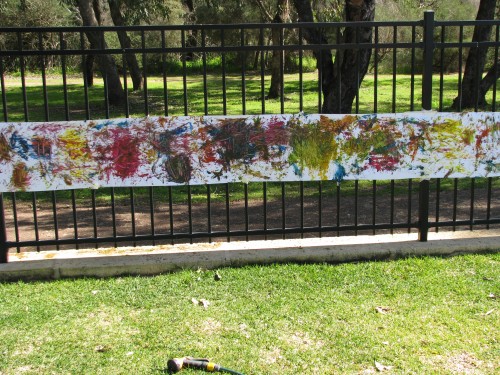
When I saw these fabulous homemade paint brushes on my newsfeed on Facebook shared by the Dirt Girl World fan page, I instantly wanted to give this a try with my girls. With the weather warming up, I have been planning more activities to do with the kids outside and I thought these paint brushes would be perfect for textured painting on a large paper canvas fixed to the fence.
What you will need?
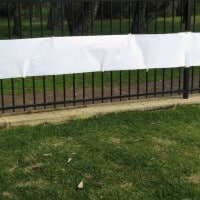
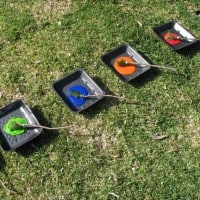
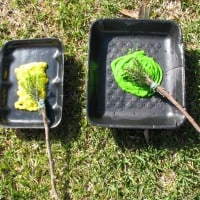
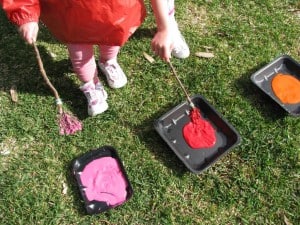
An invitation to play – Here I have set up a paper canvas on our fence, held up with masking tape and the Natures Paint Brushes in some paint on clean recycled meat trays. You will also need some elastic bands, sharp scissors or gardening snips, fallen down twigs from tree branches and basically any plant cuttings found in the garden or bushland.
My kids and I went for a walk along a bush track near our home to collect the twigs and plant cuttings to make our Paint Brushes. We chose 3 different types of textured plants to use for our paint brushes.
How to make the Natures Paint Brushes?
- Collect up some twigs. You could basically use any size or shape sticks but we chose ones that were not too thin or wide and were as straight as possible. Our twigs were approximately 22cm long.
- Find the bushiest part of the plant and snip off a small bunch. You do no need a lot because when you join the leafiest parts together it becomes dense. Trim off the leafiest parts so they are roughly the same length and bunch it together. Attach it to the end of the twig by wrapping the elastic band around it several times to hold it into place.
Let’s Play
This activity allows kids to explore their creativity and imagination freely. Exploring the patterns the Nature’s Paint Brushes transferred onto the paper, mixing coloured paint together and creating shapes and pictures with no restrictions or expectations.
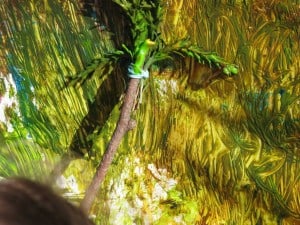
Each paint brush had a different type of plant leaf attached to them which created different patterns and textures on the paper. We discovered that one of the paint brushes was more prickly and hard while another one was soft and a bit floppy. Each created a different textured pattern on the painting.
Let’s Learn
Our finished painting!
The learning benefits of this activity:
- Self-expression with paint
- Eye and hand coordination
- Fine motor development
- Experimenting and exploring with a new paint tool
- Sense of achievement and pride
- Colour recognition
For more paint activities and ideas:
<click here>
Available in our online shop:



This looks like so much fun!
This is one of the best activities I have seen lately! And it’s perfect for a group bonding activity for the beginning of the year! Thanks for sharing! What a great idea!
What a great idea. Thanks for sharing. 🙂
Can’t wait to try this now that the sun is shining.
What a great idea! We were going to paint with celery stalks with leaves the other day, but never got to it. Thanks for the idea!
This is SOOOO cool! You knew I’d like this activity though didn’t you?!
If only the painting could stay up. It looks awesome on the fence!
Oh my girls will love this as we love to paint outside with things from nature! Your pics are wonderful and have me all inspired!
Don’t those brushes look fantastic! and have you ever tried painting with aboriginal ochre? It’s a reddish brown rock ground up. We did it at an aboriginal celebration we went too. Painting outside is the best.
Love this! Great idea 😀
I just love the large piece of paper to enable the children to really go for it!
I’m thinking the rosemary oil would have smelt gorgeous as the leaves were crushed ♥
Yay! I’m so excited I inspired you to try this! It looks like you and the girls had an amazing time! I’m going to share your blog post on my facebook page with all my pals! Stay grubby 🙂 Love dirtgirl 🙂
Love all these natural paintbrushes 🙂 Shared you post here http://siayla.blogspot.ca/2014/02/got-paint-try-painting-with-out-typical.html
These are great another natural material is your grass plants, to create different thicknesses in the leaves slice them length wise and place in the natural light for aa few days to dry out.